Before You Start
How should you use this section?
This section is meant for your first systematic pass through CoCube MicroPython.
- Set up the environment first, then come back and review the platform and lesson order
- Understand the overall capabilities first, then move into the individual lessons
- The goal here is not to memorize every function, but to get the devices, tools, and learning path straight
Finish these three things first
- Learn what the CoCube robot, CoMaps, and the common expansion modules are
- Set up the MicroPython development environment and confirm that the device can connect correctly
- Get a high-level picture of the learning order for the 9 lessons that follow
First, think of CoCube as a complete platform
CoCube is not just a robot that can move, and it is not only a development board that runs Python.
More accurately, it is a robotics platform that puts display, motion, positioning, expansion modules, and AI capabilities into one workflow.
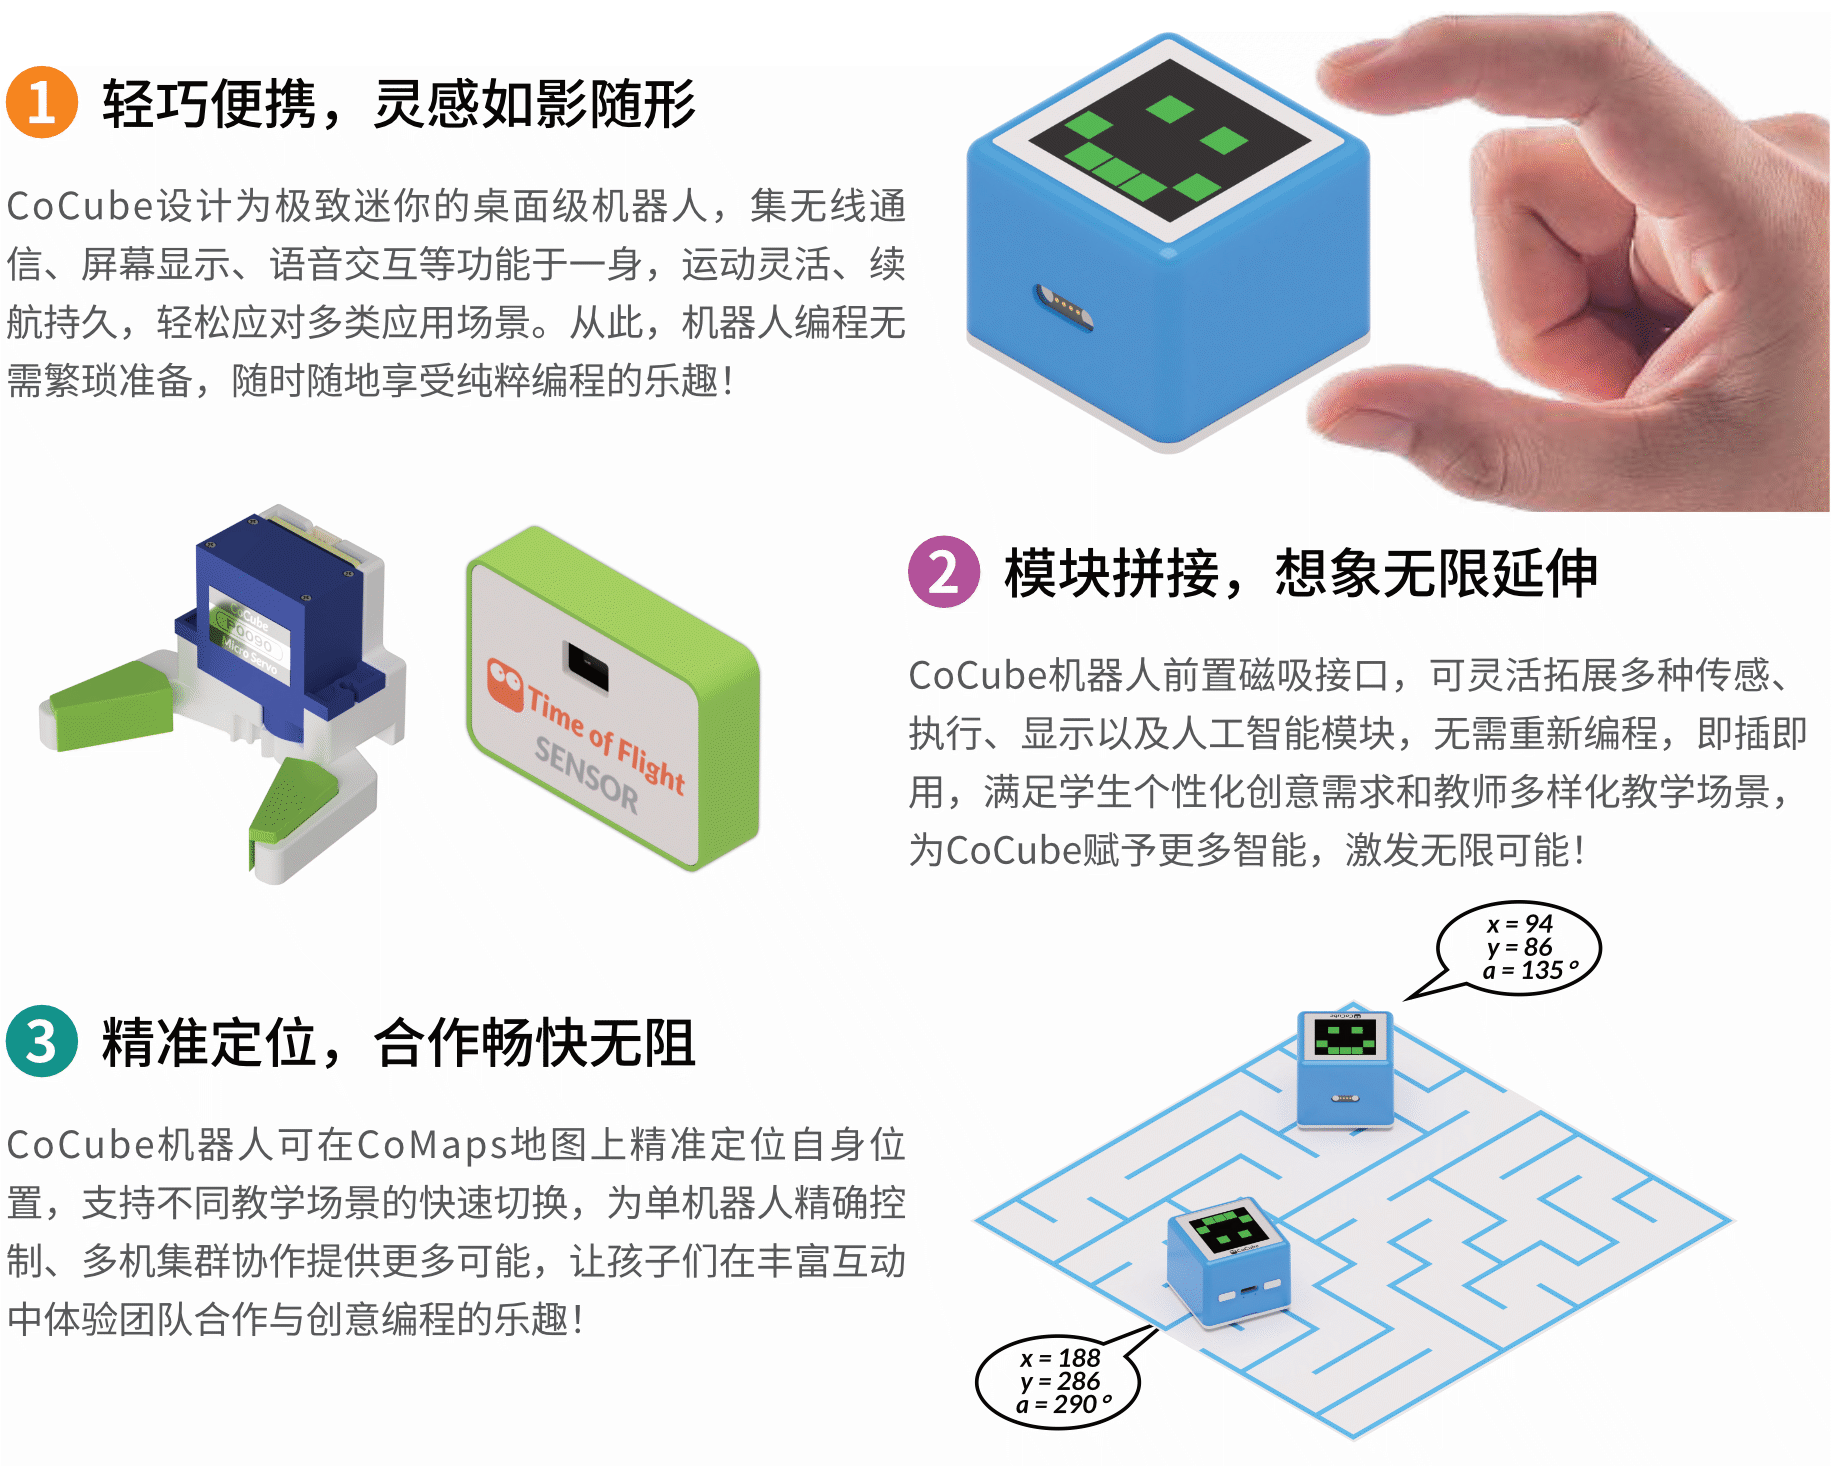
That is also why the later lessons go from "display output" all the way to the AI camera: first you learn to make results visible, then you gradually add motion, sensing, and task control.
What can the CoCube robot itself do?
You do not need to memorize many technical terms yet. For now, it is enough to keep these capabilities in mind:
| Item | Practical way to think about it now |
|---|---|
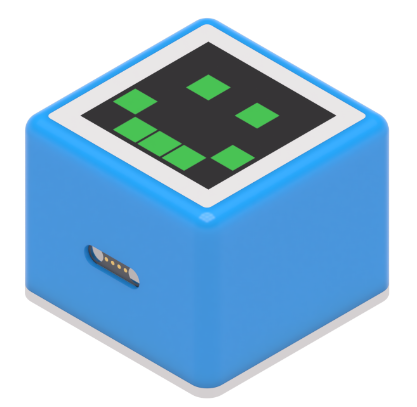
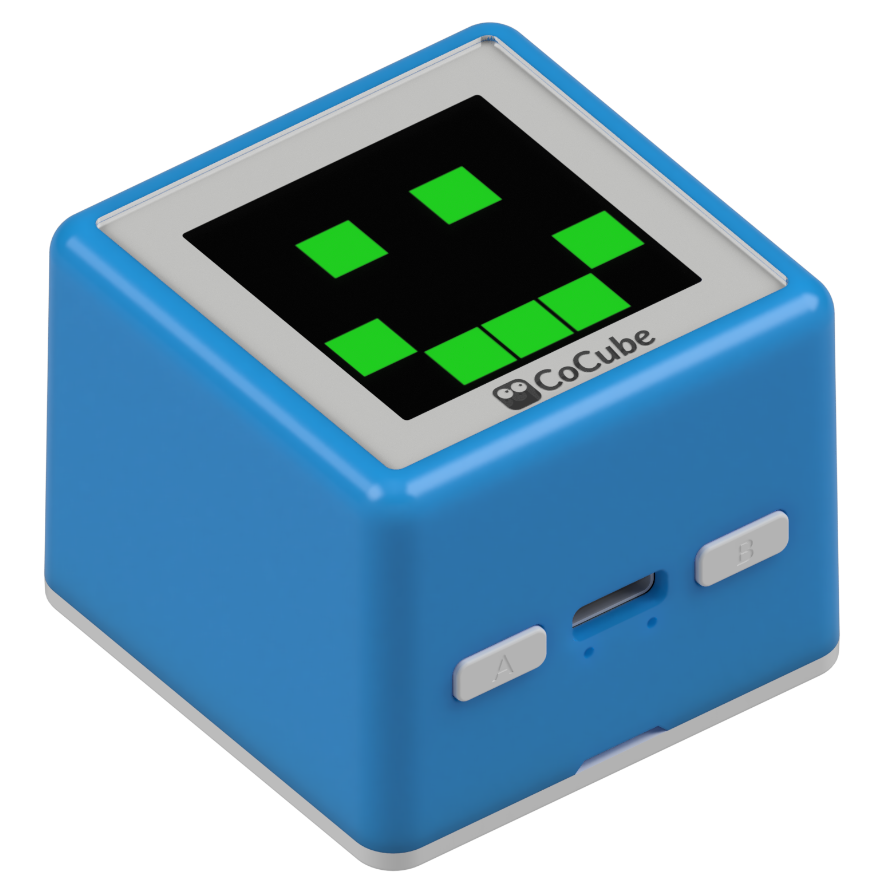
| Main controller | A compact computing device that can run MicroPython |
| Screen | A 240 x 240 color display for text, graphics, and status feedback |
| Movement | A dual-track differential chassis that can move forward, reverse, turn, and adjust left/right wheel speed |
| Positioning | When placed on CoMaps, it can read coordinates and heading |
| Buttons | On-device buttons for basic interaction and control |
| Expansion | It can connect to modules such as a gripper, ranging, lighting, voice, and vision |
Why do later lessons talk about CoMaps specifically?
Because CoCube works especially well for location-based tasks.
Later you will not just make it "move forward a little"; you will make it "go to a certain point" or "turn to a certain angle."
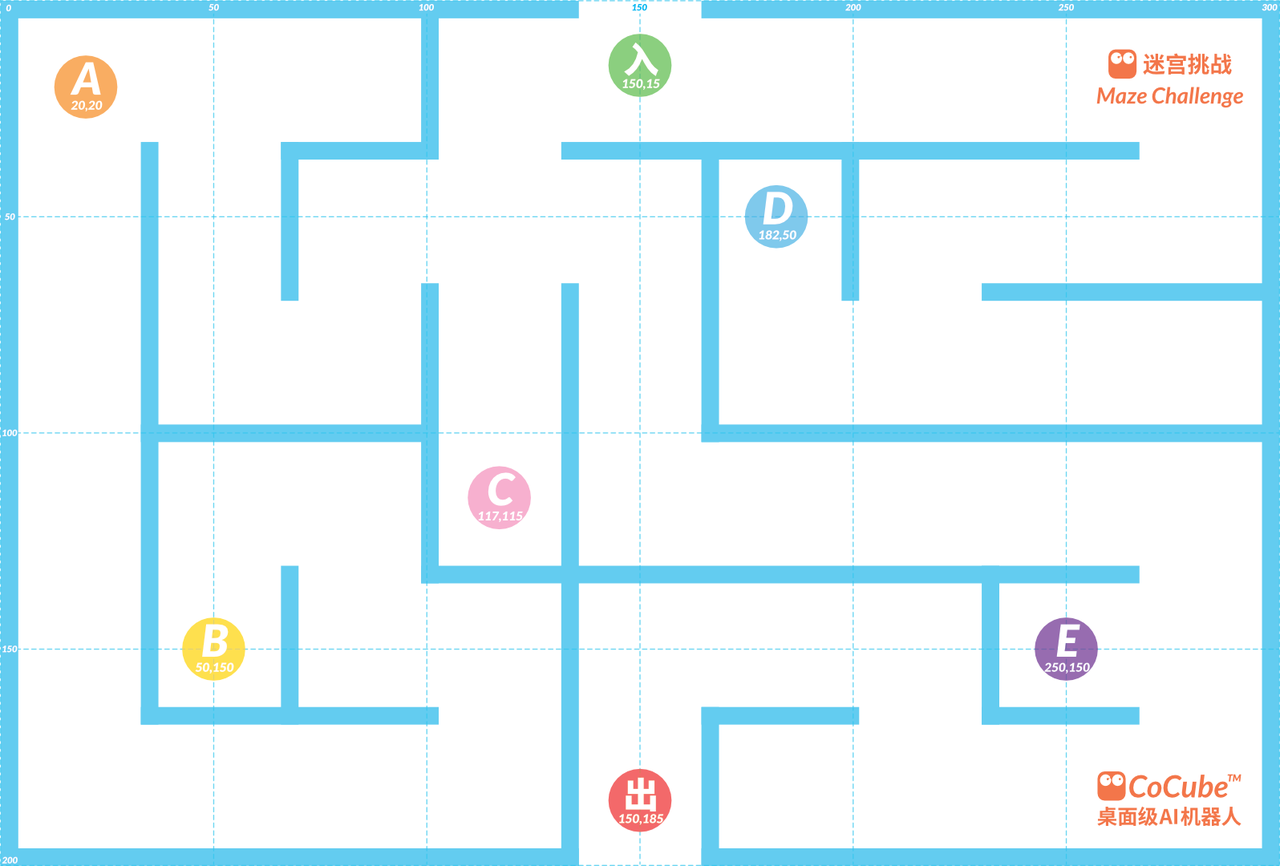
For common CoMaps boards, remember these three ideas first:
- The coordinate origin is near the upper-left area
- Positions on the map can be described with
xandy - The robot also has its own heading angle
When you reach the lessons on position and speed, this map stops being just a backdrop and becomes the actual basis for control.
What modules can you add later?
Besides the robot itself, CoCube can keep expanding with different modules.
You do not need to learn how to use them all right now; it is enough to get a broad picture of what will appear later in the course.
| Module | Image | What it is used for in the lessons |
|---|---|---|
| Servo gripper | 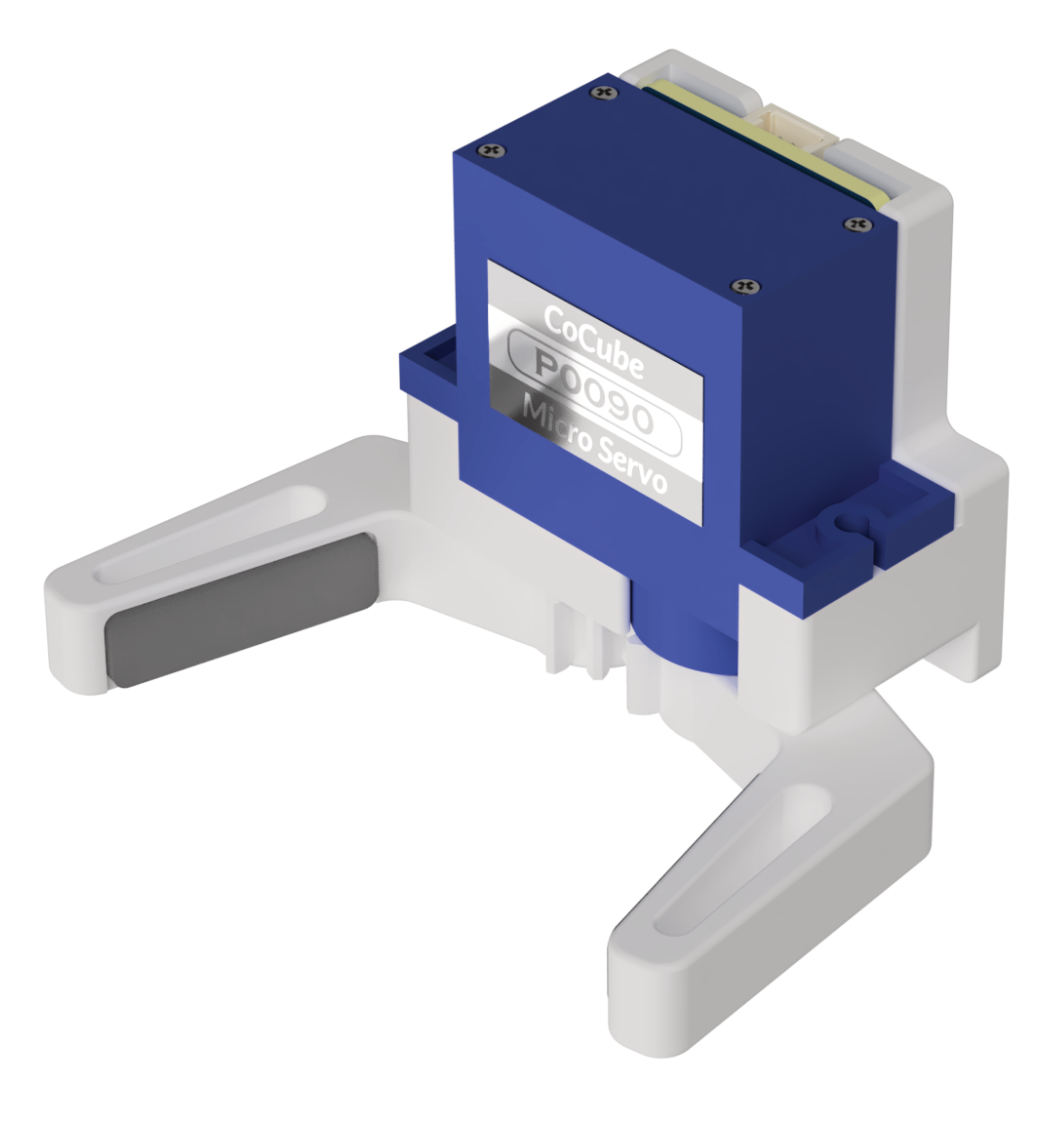 | Grabbing, transporting, and task execution |
| ToF ranging module | 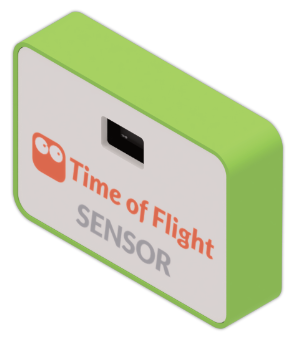 | Reading front distance for obstacle avoidance, following, and safety checks |
| WS2812 full-color light board | Lighting effects, status feedback, and interactive projects | |
| 3D gesture recognition | 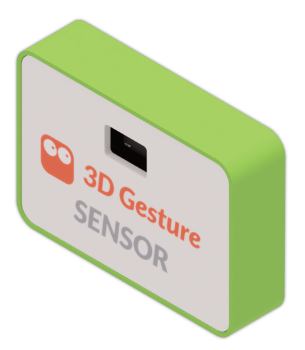 | Contactless interaction control |
| AI vision module |  | Color recognition, card recognition, line following, and other vision tasks |
| Digital light sensor | 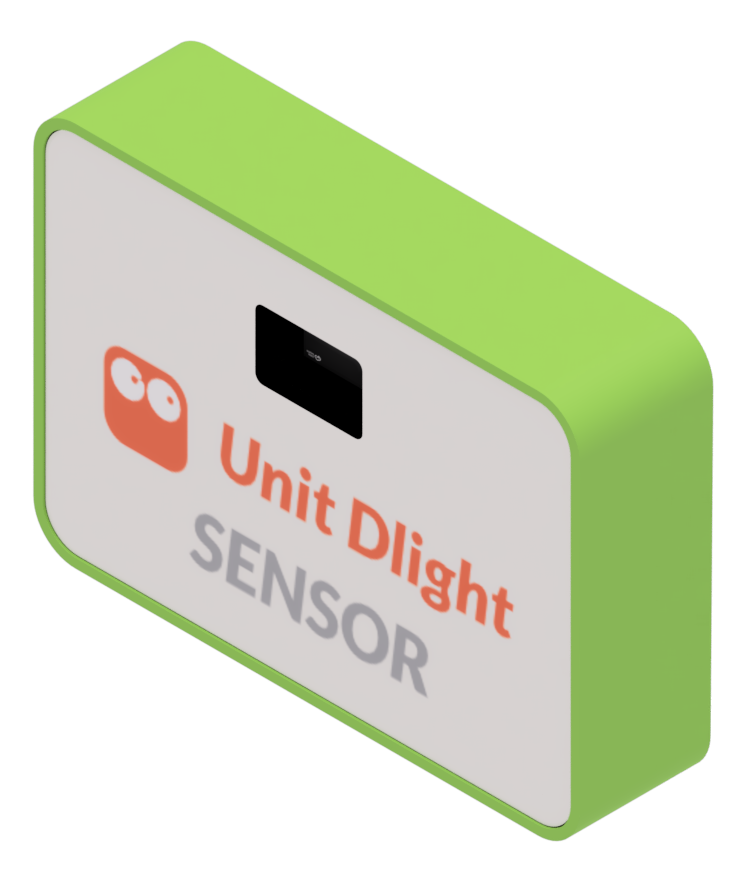 | Reading ambient brightness for light/dark detection and automatic switching |
| Voice recognition module |  | Reading spoken commands for voice-based control |
What is the smoothest order to keep learning?
This order is recommended for the next steps:
- In Set Up the Development Environment, get the firmware, connection, and run flow working
- In Basic Concepts, learn the REPL, script execution, saving files, and
main.py - Then move through the Learning Path lesson by lesson
- While writing code, use the Reference pages to look up module APIs
This makes it easier to know what to solve first, and the later lessons will feel much less chaotic.